
An introduction on how to remove calcium deposits from the faucet. Calcium is one of the biggest enemies of your pipes. Whether it comes to your sink, a faucet, or even an appliance that relies on water (such as your coffee maker or kettle), calcium will inevitably kick in at some point or another in an attempt to ruin it.
It is all because of hard water – a common problem in the modern world. Hard water is rich in minerals, especially calcium. With time, it builds up, clogs pipes of all sizes, and causes plenty of damage.
Fortunately, there are ways to prevent such issues. But then, pretty much everyone will end up learning the hard way. You are less likely to think about the consequences of hard water until the side effects become obvious. At this point, prevention is no longer a solution.
You need to fix the problem and learn how to remove calcium deposits from the faucet. There are a few easy ways to do it, but before getting there, make sure you understand how this problem can actually affect you.
Table of Contents
The effects of hard water
Whether the water in your area is moderately or severely hard, it will do damage to your household at some point or another if overlooked.
The minerals and contaminants in it will stick to the surfaces of everything they touch. If the water goes through pipes, calcium and other minerals will eventually stick to their inside walls. They will target pipes, faucets, and appliances – especially toilets.
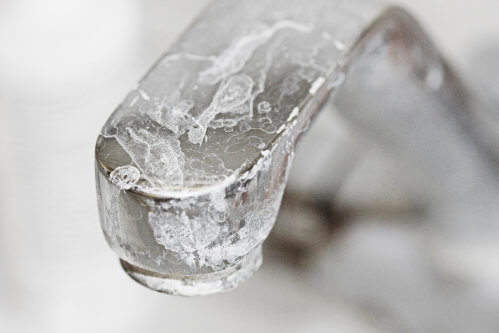
How can you tell there is a problem with hard water? Simply pay attention to small signs. One of them is the classic spot. Do you have a chrome sink?
If the water is hard, you will get a bunch of white spots now and then – mostly when the sink is dry. In fact, any metallic surface getting in touch with the water will end up with the same problem – this is the most obvious sign.
White Spots on Faucet
Photo Credit: Bailey Brothers
Another sign involves water pressure. Try to imagine your sink a couple of years ago – or perhaps the shower. It was so powerful that it could almost take your skin off. Today, that pressure feels like history.
You probably imagine that time has taken its toll on it, so it might be time for a replacement. Wrong! In fact, limescale deposits are often responsible for lower water pressure.
All these deposits are often referred to as limescale. It will keep building up and will cause even more trouble – even completely clogging pipes until they burst. Sometimes, a bit of elbow grease will take it off. Other times, you might need to use a knife to scrape it off. Unless you know what you are doing, a professional could be your best option.
Failing to prevent calcium deposits will lead to most of these issues. Failing to care for your pipes and appliances will cause even more trouble.
You might end up with burst pipes behind the walls, leaks, and a very expensive and time-consuming plumbing project. Now, knowing the side effects of limescale, what can you do to remove calcium deposits from your faucet?
Ways on How to Remove Calcium Buildup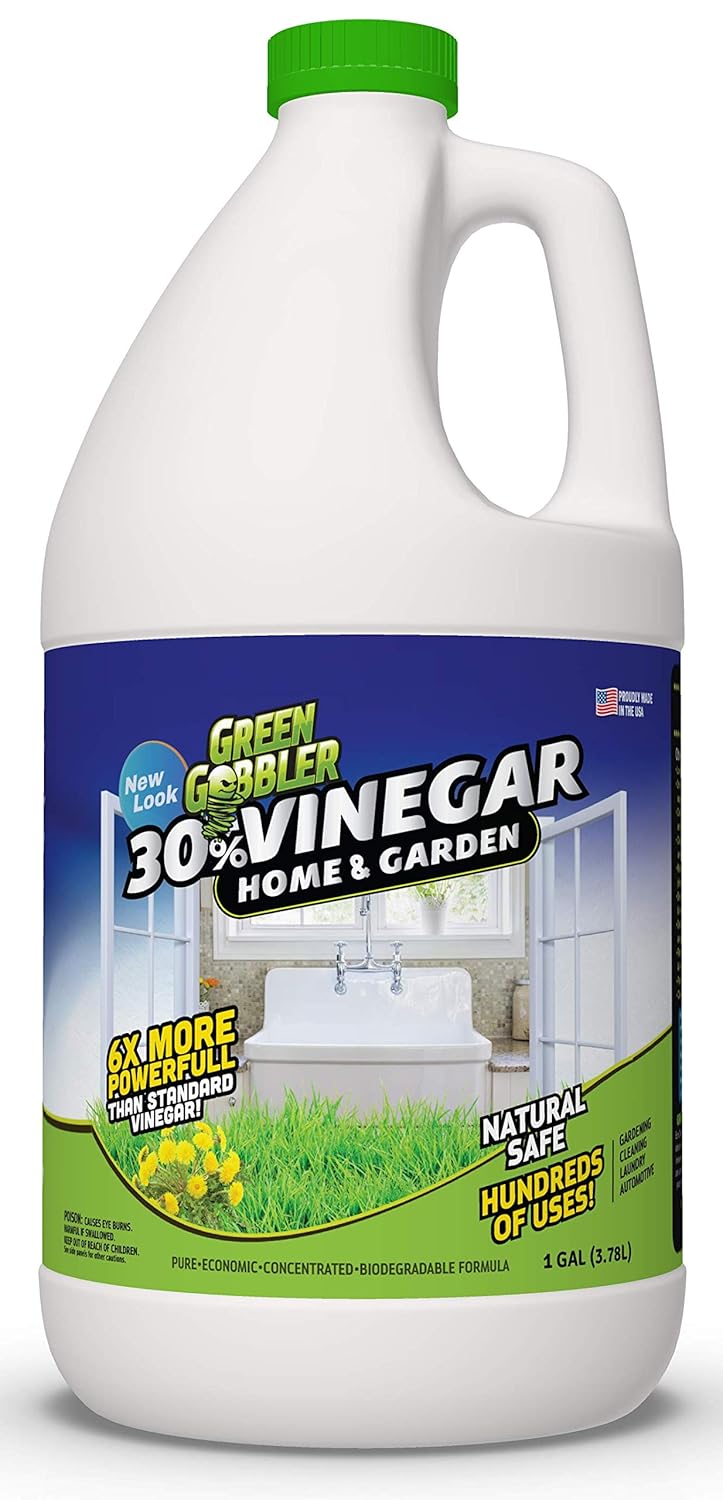
There are more ways of removing calcium deposits. You do not necessarily have to be a professional, but have a sense of DIY projects. As a general rule of thumb, you need to focus on acidic liquids. They tend to eat away minerals like calcium, so they make a good choice to get rid of all kinds of deposits.
Which option is better for you? There are more ideas to try out. Each of them comes with its own particularities and rules. The best part is that you may already have some of them in your household.
If you do not, simply go to the nearest household store. All in all, some of your best options include white vinegar, sulfuric acid, lemon juice, muriatic acid, phosphoric acid cleaner, or CLR cleaner.
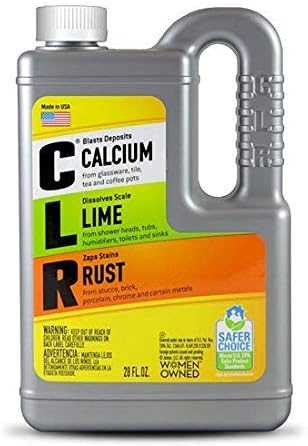
3It is important to know that while each of these options can make a difference, muriatic acid must be very carefully considered. It is not your best option if your calcium deposits are small and the side effects are not that bad. Instead, it makes a better choice for tough deposits – pipes that have been overlooked for years.
No matter which option you choose, the area must be well ventilated to prevent intoxication, so open all windows.
Tools Needed for Limescale Remover
Now, what kind of tools and materials do you need to get the job done? Calcium deposits can be a nightmare in the first place, but they are easy to deal with if you follow some simple rules and steps.
The most important thing? Make sure you have everything nearby. You do not feel like stopping in the middle of the action, only to go to the nearest hardware store to buy some more stuff.
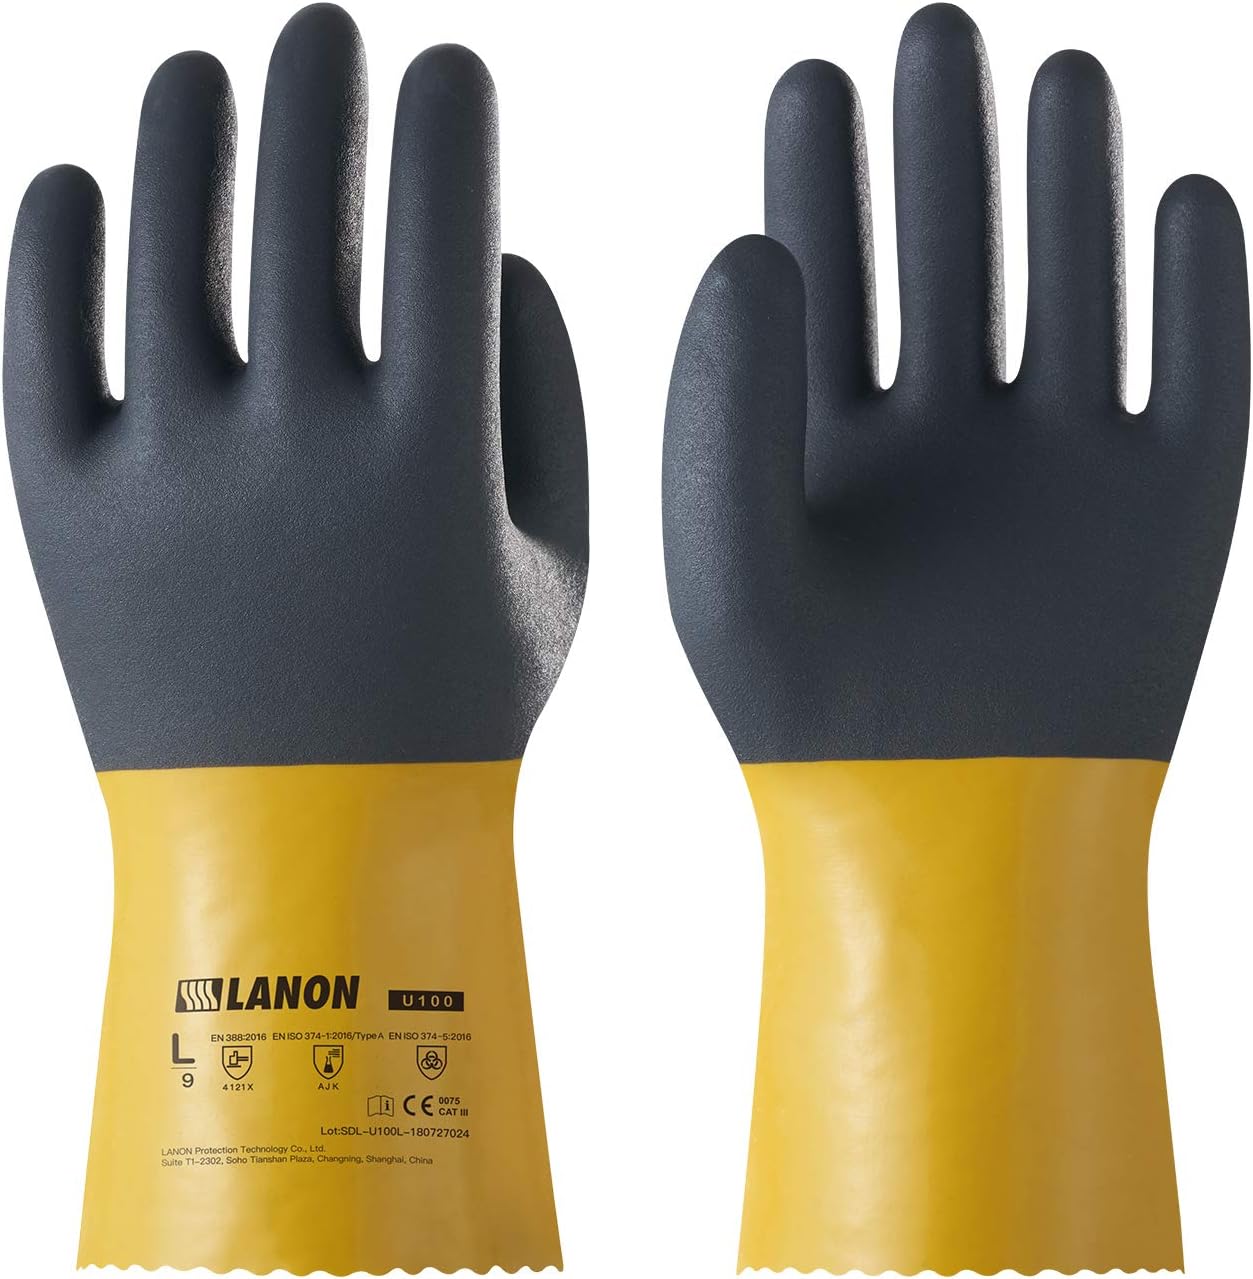
Gloves are excellent for protection. Neoprene gloves will do, but PVC gloves are just as handy. Eyewear is also great. Imagine the acid splashing around and hitting you in the eye – terrible consequences that will seriously damage you. For this reason, you need a set of transparent goggles. Use them for such operations only.
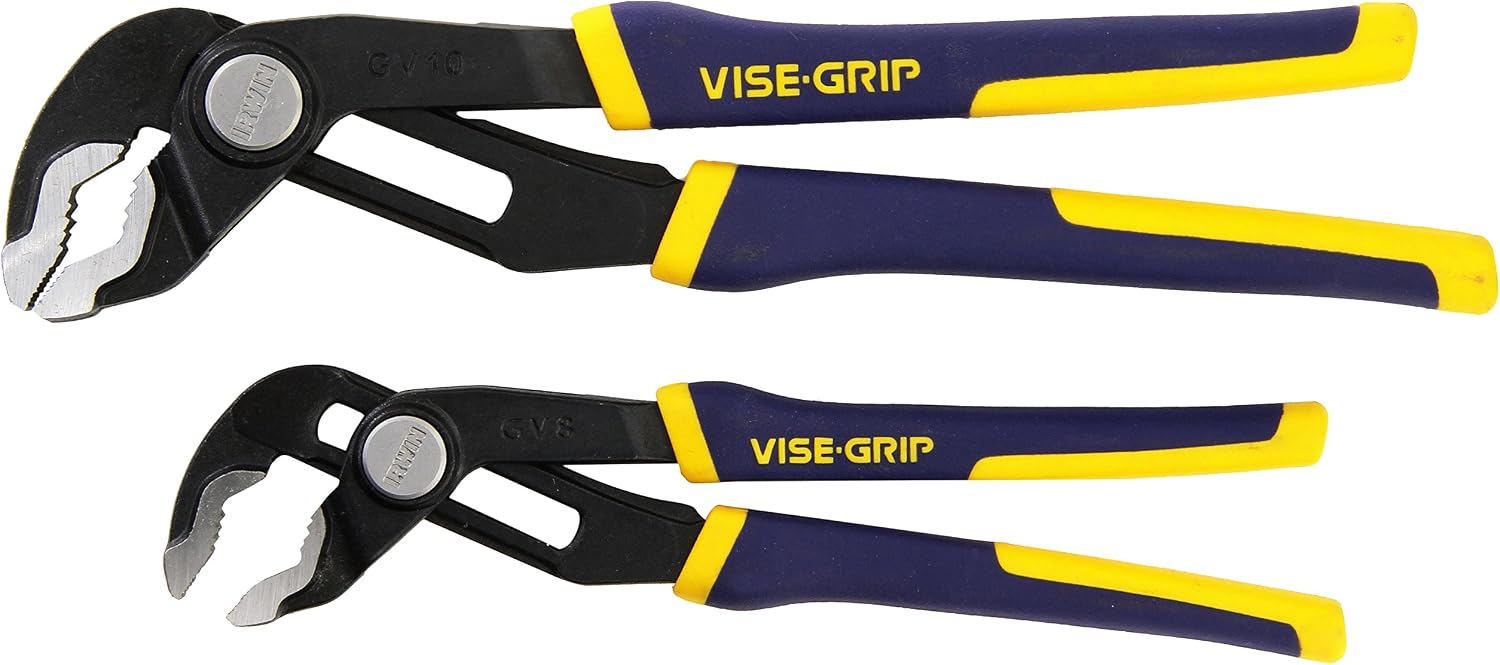
Other handy tools to have around included a toothbrush or a sponge – the sponge should not be abrasive, so stay away from scrubbers. You will also need a plastic bag, a towel or a rag (it can be an old one), pliers and a rubber band. Once you have all these on hand, you are ready to get to work.
Pvc Gloves: Pvc Gloves:
Transparent Goggle: Transparent Goggle
Plier: Plier
Take the faucet out
There is a classic way on how to remove calcium deposits from faucet around the faucet by using a plastic bag over it. This approach is handy at times, but it only helps on the surface.
It is like brushing your carpet and throwing all the dirt under it. It will only hide the effects, but it will not clear the calcium deposits. Instead, you need to actually remove the faucet – it is the optimal way also to prevent further problems.
The aerator is one of the most complicated parts when removing the faucet. It is located right about the head of the faucet. You will need to be above the faucet to grip it properly. This is when the pliers kick in. You might be able to do it without pliers, but it is highly recommended to have them nearby in case you need a hand. Once you grab it, twist left until it screws off.
No matter how many parts you remove (every faucet is slightly different, despite having the same operating principles), make sure you keep track of every little part. You might as well take some pictures as you do it. Every little gasket and component must be placed aside, so you can put everything back in the right order.
How to clean Corroded Faucet
Rinse Everything
When the aerator is done and properly soaked, get the sponge or toothbrush and clear any leftovers. There might be some buildups left, but removing them should be a piece of cake.
While it looks like leaving parts to soak for longer could be a good idea, it is not. Acids can easily corrode metals and even eat parts of them if left for too long, so follow the instructions on labels.
Make sure you rinse everything and there are no acids left – whether you use vinegar or a more powerful acid. Rinse under tap water and let the fixtures dry.
Reconnect parts
Follow the same steps to reconnect parts – in a reverse mode, of course. Make sure every part goes in the right place and respect the order.
Do not force parts in – they should go in smoothly. If anything feels wrong, double-check the connection. If you have leftover parts, redo everything from scratch. Missing parts will cause leaks and you will end up with the same problem in no time.
Prevent further problems
Regular maintenance is the key to a fully functional faucet, but there are other things you can do to prevent such problems. Hard water is the main reason for your issue. As a result, your best bet is to get soft water.
There are multiple water softening systems out there, so choosing one should not be so difficult. Their main role is to
remove hard minerals from water.
A Tutorial on How to Remove Hard Water Buildup From Faucet
video credit: how do i
Final Words
As a short conclusion, you do not have to be a professional plumber to learn how to remove calcium deposits from faucets. A little attention to small details and the right tools will help you maintain your faucets in perfect condition. Keep in mind that hard water will always cause such issues.
Even if your faucet is like new now, chances are it will end up in the same situation within years or even months. However, once you get this operation done the first time, further cleaning will be a piece of cake.
Enjoy reading this article? Be sure to check out the best kitchen faucet with hard water in the market right now!
References
https://plumbingtoday.biz/blog/how-to-remove-hard-white-mineral-deposits-from-faucets-showerheads
https://www.mrrooter.com/about/blog/2018/march/how-to-remove-calcium-buildup-on-faucets/
https://homeguides.sfgate.com/remove-lime-buildup-faucets-24407.html
https://www.thespruce.com/how-to-remove-calcium-deposits-from-a-showerhead-1388730