

Nothing can be more annoying than hearing your kitchen faucet leaking, especially if you also have a couple of dishes in there. However, the annoyance is nothing if you also consider the long-term costs of this problem.
After all, a leaky faucet involves spending money on water that you never actually use, right? While the difference in your bills will not be significant, it will become quite obvious in the long run.
The good news is it will not cost you a fortune. You do not necessarily have to hire a plumber for the job. Whether you are an occasional DIYer or you simply want to save some money, there are easy ways to overcome this problem. Here is a guide on how to fix a leaky kitchen faucet.
Table of Contents
Causes of a Leaky Faucet
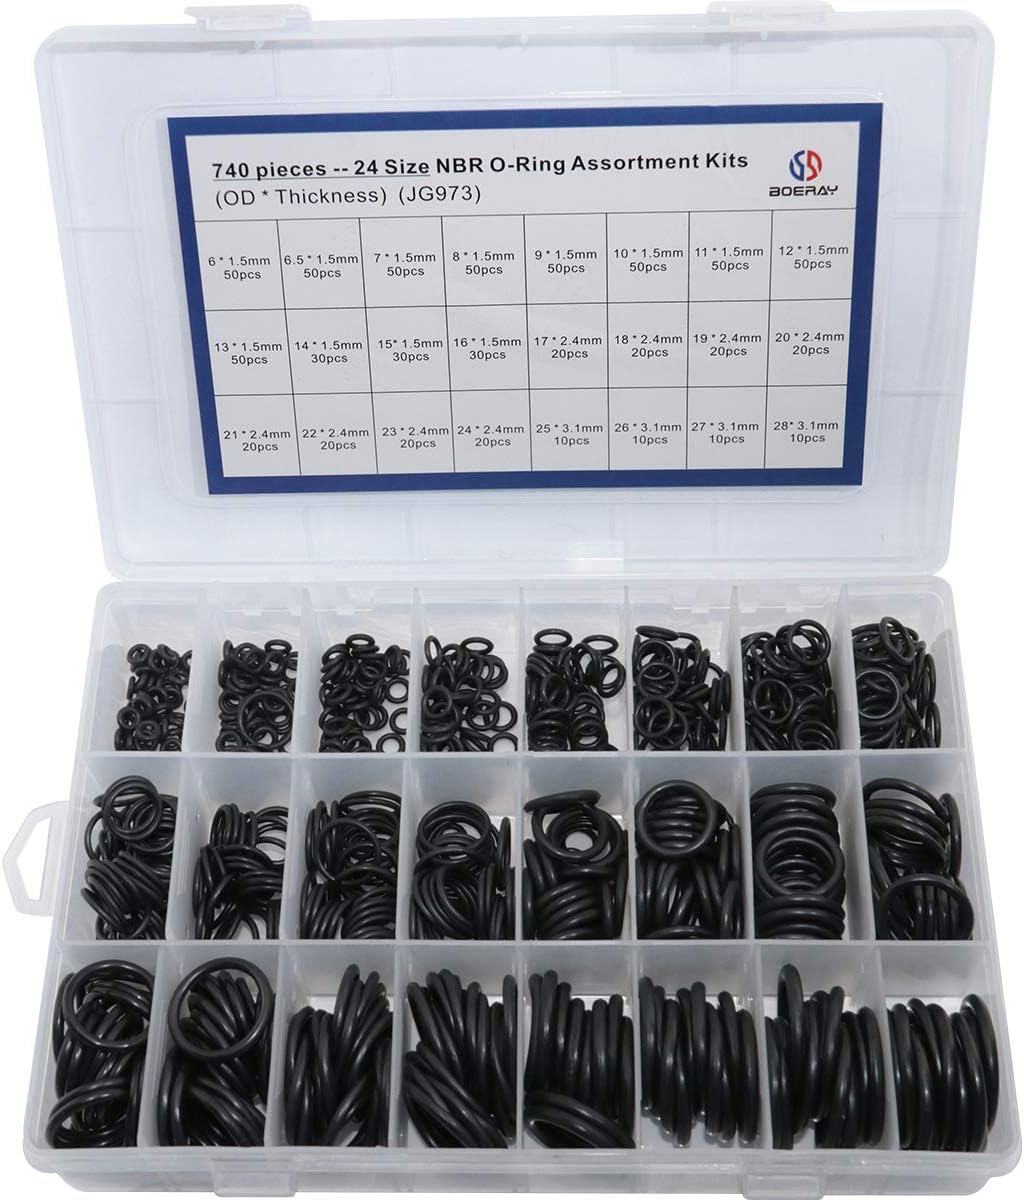
O-ring Assortment Kits
There are not too many causes wherefore your kitchen faucet may start leaking. Most commonly, there is a problem in the O ring.
Even if it does not wear out, it tends to go loose, as it is soft. If this is the case, getting a new O ring will solve your problem.
A corroded valve seat is yet another common problem. The primary role of the valve seat is to connect the spout and the faucet. Since water gets there as well, sediments will inevitably build up – especially minerals.
With time, it will corrode, so the spout area will end up leaking. This kind of problem can be prevented by maintaining the valve seat on a regular basis – you just need to clean it and remove minerals before they start building up.
The leak may also occur from your washer. In fact, this is among the top causes of a leaky faucet. The washer goes on the valve seat whenever you use the faucet. It basically rubs against it over and over again. As a direct consequence, it tends to wear out a little.
Water will start leaking by the spout. You cannot really fix anything here. Instead, you will need to replace your washer. This issue is more popular in compression faucets.
Be careful when you install the washer though. Wrongful installation is another common cause of leaky faucets. Whether installed the wrong way or purchased in the wrong size (it may still work though), it will cause leaks.
The washer can be installed as a DIY operation – just make sure you get your current one to the hardware store or you might buy the wrong size.
What You Need to Fix a Leaky Kitchen Faucet

You do not need to invest in all kinds of specialized plumbing tools to get the job done. Instead, you might be able to do it with the tools you already have in your house. Most importantly, you will need a slotted screwdriver. Hex keys will also help in the process, not to mention an adjustable wrench and a Phillips head screwdriver.
Phillips Head Screwdriver: https://www.amazon.com/gp/product/B0000302VQ/ref=as_li_qf_asin_il_tl?ie=UTF8&tag=kitchenhomel3t-20&creative=9325&linkCode=as2&creativeASIN=B0000302VQ&linkId=09dfe9debabe514947a0c10be3d90499
There are a few other things you will need. Head to the nearest hardware store and get yourself a faucet repair kit – they come with all kinds of small parts that you might need.
They do not cost too much though. Other than that, a microfiber cloth will help during the process as well. Now that you have what it takes to get the job done, what are the steps?
Cut The Water Supply
Make sure the water is turned off. You have a general faucet for the water supply in your household. Many times, it is fitted under the sink, but this is not a general rule. Try the water once you have done it – just to make sure you turned off the right faucet. Otherwise, water will spray all over your kitchen once you start uninstalling the faucet.
Not all households have individual valves. If you are in this situation, simply shut off the supply for your whole household. Once done, turn on the faucet.
This is how you can tell whether you have done it or not. Besides, you want all the remaining water stuck on the pipes to empty.
When all is done, it might be a wise idea to use a towel to cover the drain. Faucets have plenty of small parts – you do not want to lose any of them into the drain.
Remove The Handle
Different faucets have different styles. Although all of them operate on the exact same principles, small details make the difference. To remove the handle, you will need to become familiar with the type of faucet you have. Nothing to worry about – you do not need to read any books, but just follow some simple steps.
Some faucets come with some screws behind the handles. You will usually be able to get that screw off with an Allen wrench or a hex key. Once fit in, turn it and unscrew it.
Other faucets are different – the handle has a cover on top of the screw.
The cover normally snaps in – no screws. Just use a flat screwdriver to take it off – be careful not to scratch it. Once the cover is off, you will most likely need a Phillips head screwdriver to unmount it.
Pull the handle out once the attached screws are off.
Take The Cartridge Out
There is a cartridge under the handle and it must be removed. You will need a crescent wrench for this step. Locate the packing nut in and loosen it, then remove it. Make sure you do not lose it. Once it is out, there should be no problems taking the cartridge up. You will just have to pull it out. Make sure you do it gently – do not force it. Also, do it in a straight move.
This is not always a general rule though. Some modern faucets are more sophisticated than that, so they come with other requirements.
For example, you may not be able to simply pull the cartridge out. Instead, you might need to use a special tool. However, such faucets usually come with these tools in the package – they are specially designed for such operations.
Put a New Cartridge In
It is very important to make sure the area is clean and looks new before installing a new cartridge. This is one of the most common mistakes among DIYers. They simply remove the old cartridge, but a new one in and expect it to work perfectly, only to realize that the same issue occurs within months or even weeks only.
In other words, make sure you clean everything upfront. Go around the handle and each individual part. A clean cloth will do the trick. You do not need to use any professional cleaners or powerful solvents – a clean cloth is more than enough.
You will have plenty of O rings around. They are common around the housing and they represent some of the most common causes of a leaky faucet. Inspect each of them – look closely and try to spot any signs of wear and tear. If any of them looks worn or damaged, simply replace them with an identical one. Using a different type of O ring will cause leaks, so this step is important.
It is also worth noting that different cartridges may have different sizes and shapes. How can you tell which one is the model you need? Go to a hardware store and ask the salesman for the exact same thing or simply order from the manufacturer. You need to know the model number though. If you try a local store, get the old cartridge with you to make sure you get the same model.
Once you have it, drop it in. It should fit in without too much hassle – just insert it in. If you have one of those fancy faucets with individualized tools, follow the manufacturer’s instructions.
Put The Handle Back In
It is time to reattach the packing nut and get your handle back in place. You will need a crescent wrench to tighten it. Many newbies exaggerate a little and tend to overtighten it – a terrible mistake. It will most likely end up leaking in no time, so there is no need to go too far.
Put the handle back in – follow the same steps as before. Use the same screw to fit it in. If your faucet is a model with a cover, you might need to replace it – not a general rule. If you are careful when you take it off, it should work.
Test The Faucet
It is now time to test your faucet. Go back to the main faucet for the waterline and turn it back on. Go back to your sink and make sure there is no debris around it. If it is, take it out and throw it in the bin. Otherwise, it will go down the drain and may clog your sink.
Turn both the cold and hot water in. Let it run for a few minutes – it is the optimal way to ensure the aerator is not clogged with debris. Turn it off and give it some time. Is the faucet still leaking? You do not necessarily have to listen to it. Just check your sink again in a few hours. It should be dry. If it seems wet under the faucet, it is still leaking.
Final words
As a short final conclusion, you do not have to be an expert to learn how to fix a leaky kitchen faucet. Of course, having a professional plumber come by and fix your problem will ensure a better result, as they have the experience to do a proper job. But on a similar note, the project can be quite exciting for a DIY enthusiast as well.
Leaky faucets represent a common problem these days. Sooner or later, everyone will end up facing this problem. It happens – it is one of the effects of hard water. In fact, given the daily use, faucets will end up leaking even if you have soft water.
The first time fixing a leaky faucet will be the most difficult one. You obviously have no experience, so you must pay attention to every small detail. But once you get it done, chances are you will be able to handle all such problems in the future.
As for preventing such issues, using soft water could be one of the best ideas. Moreover, make sure you invest in quality faucets and parts, rather than random stuff or brands that no one has ever heard about. Minor updates such as repairing a leaky kitchen faucet can increase your perceived home’s value as mentioned in this article, Best home improvements to raise your home’s value.
References
https://www.faucetguide.net/how-to-fix-leaky-kitchen-faucet/
https://www.familyhandyman.com/plumbing/faucet-repair/how-to-repair-a-kitchen-faucet/
https://homeguides.sfgate.com/fix-dripping-two-lever-kitchen-faucet-70339.html