Both bathroom and kitchen faucets work on the same operating principles. You turn the handle and water starts coming out through the spout. Turn it in the other direction and it will stop.
Sure, these days, you can find faucets that also control the temperature through the same handle – basically, you have everything in one handle. Functionality is classic in all faucets, but many brands out there come up with different steps inside their products. Stems are meant to control the water and they obviously wear out after a while.
The most common issue? Dripping. Most people will choose to replace the entire faucet, but you can also replace the stem instead – it will save you some money. The problem is that the stem can get stuck over time. Learning how to remove a stuck faucet stem is one of the main reasons wherefore people would rather change the whole faucet.
However, get the right faucet stem removal tool, give yourself a bit of time and chances are you can get the job done for less money. So, what steps do you need to follow?

Table of Contents
How To Remove A Stuck Faucet Stem?
 The Most Common Issue
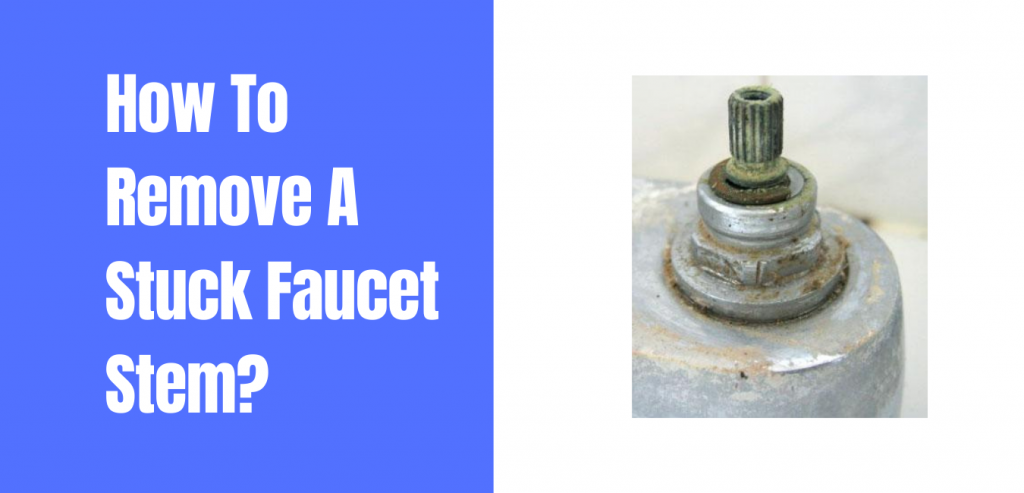
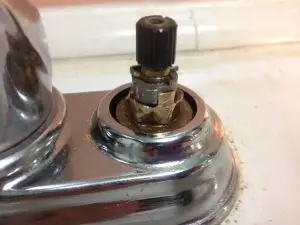
You cannot tell whether or not the stem is stuck until you start opening the faucet. Basically, you will try to replace the valve stem as you expose it. You will most likely need to learn how to remove a stuck faucet nut first. However, as you turn the nut, you will realize that the entire assembly moves with it. They are stuck together, so the stem refuses to get out.
How To Remove A Stuck Faucet Nut
The Easy Solutions
The easy solutions are simple to apply and do not require too much work. While they may not always work, they are cheap and quick, so they are definitely worth a try.
For example, you can try removing the whole valve assembly. Get a wire brush and clean it properly. Clean all the gunk around it, so you can see all the parts. The gunk may get things stuck together, so losing it may help in the process.
There is a second quick solution that might help in the process. Assuming that cleaning the gunk does not work, get a WD40 spray and give it a proper cleaning.
Practically, spray it all around the assembly. Even if parts seem stuck together, insist on around the meeting areas. You can knock the assembly a little, but try not to damage it. It will loosen parts, so the spray can get into all areas. Let it sit for 15 minutes and retry.
Faucet Stem Removal Tool Options Explained
What You Need
The two quick and easy solutions may help you learn how to remove a stuck faucet stem, but this is not a general rule. If your system was built decades ago, chances are cleaning and spraying it will not give you any results – it is totally worth trying. If it does not work, you will have to bring in the heavy artillery and get your hands dirty.
There are certain tools you will need to get the job done – there is nothing to be concerned about though. You will not have to spend money on sophisticated tools – instead, you will need tools that most people already have around their homes. If you do not, chances are they are quite cheap and widely available in the nearest DIY store. So, what do you need?
- Flathead screwdriver
- Phillips screwdriver
- Hex key
- Pump pliers
It is worth noting that based on the type of faucet you have and the stem inside it, you may not necessarily need all the above-mentioned tools.
If you have a bit of time off your hands, get what you already have and see if those tools can get the job done. You will need a few other things to replace inside the faucet, but you should get the used parts with you to a store to ensure you get the right sizes.
Step By Step Instructions on How To Remove A Stuck Faucet Stem
The first step implies shutting off the entire water supply. You do not want any water spraying out of the system once you take it out. Find the main valves usually under the sink and turn everything off.
Once you are done, feel free to turn the faucet handles on too. You may still have water on the pipes, which will go out once you get to work. Therefore, release everything upfront to prevent accidents and a mess.
Get the flathead screwdriver and pry the caps located on the top of the handles. This is not a general rule. Many faucets come with caps on top. You do not need a massive screwdriver for this job, but a small one that can go into the tiny gap. Some faucets come with exposed screws usually located on top or on the side of the handles. The most common models have caps though.
As you manage to gain access inside, you will need the Phillips screwdriver. Most faucets feature Phillips screws. You can also rely on a small hex key. Feel free to loosen the screws on the sides.
Once the system is loosened, you can expose the stems and assess the situation in a more efficient manner. Pull the handles out and you will see the stems right under them.
This is when the pump pliers come in. There are more types of stems out there and unless you are an experienced plumber, you will not be able to tell what types of stems you have by looking at the handles only.
The pump pliers will let you loosen the nuts in case your faucet is based on cartridge stems. If you have compression stems, you need to loosen the packing nuts. As for ceramic stems, loosen the mounting nuts. Once done, pull the stems out.
Unable to remove the stuck stems?
If the above-explained solutions do not work, you can give the stem a few gentle whacks with a piece of wood. Do it from all directions in order to break bonds. Clamp on the square part at the bottom and try working on the nut at the top again. Since you clamp it, you will be able to rotate in two different directions for better results.
Since the whole assembly will rotate while trying to remove the unit, learning how to remove a stuck faucet nut is mostly about finding something to hold it in place. This is why you will need to get it from the other side too. You might as well use a hex key for the job – anything that helps to rotate in two opposite directions.
For the next step, bring the worn stems to a home improvement store. DIY or plumbing stores may also have similar products. Having the old stems with you will ensure you get the right sizes and designs.
Once you get what you need, insert the stems into the body, get some new O rings, coat the top of the stems in grease if you use compression stems. If you have ceramic stems, you will need rubber seals at the bottom.
Secure the stems with the nuts and rely on the pump pliers for maximum tightening. According to Stack Exchange, you should put the handles back in, secure them and turn them on. Turn the water supply on very slowly to test your work.
Should You Get A Plumber Instead?
The job can be demanding and no matter how hard you try, you may still fail. While the above-mentioned solutions will work for most faucets, some super old models might be stuck forever. Imagine a system made in the 1970s – chances are you will never be able to remove the stuck stem.
You do not necessarily need to call a plumber, but you may have to change the whole assembly or perhaps the entire faucet.
Generally speaking, you will need to be patient and careful. A hands-on approach will certainly help, while experience with other DIY projects will give you some hints about what to do.
If you are perfectly new to plumbing and you do not feel like getting your hands dirty, calling a plumber might be the better option – most plumbers will choose to install a new faucet though, rather than work with the stems.
Conclusion
The bottom line, learning how to remove a stuck faucet stem is not as difficult as it might seem. Stick to the easy solutions first – some wire brushing and WD40. Whack the assembly a little to loosen all the bonds and try with even more WD40. If nothing seems to work, try securing the bottom and top of the stem before rotating in two different directions.
Once you have all the parts removed, you can head to any plumbing or DIY store with the worn parts and find identical replacements.
If you enjoy reading this article, be sure to read on what causes faucet to turn on by itself.

