Faucets represent some of the most common plumbing problems out there. Whether some of their rubber parts mess up, they start leaking or they cannot be stopped, every homeowner goes through such issues every now and then.
Some faucets can last for ages – quality products from reputable brands, but others will start leaking within the first couple of years. The good news is that most of these issues can be solved without any major expenses.
Unless you invest in a new faucet, learning how to tighten a loose Moen single-handle kitchen faucet is not the most difficult thing in the world. In fact, faucet issues make excellent DIY projects and most homeowners choose to perform everything themselves – no plumbing services required whatsoever.
Even if you do not have experience with such things, a few basic tools will get the job done. You might need to go through the Moen single-handle kitchen faucet troubleshooting repair guide first, but you can still pull it without too much hassle. Now, what are the most common causes of these problems and how can you get them fixed?

Table of Contents
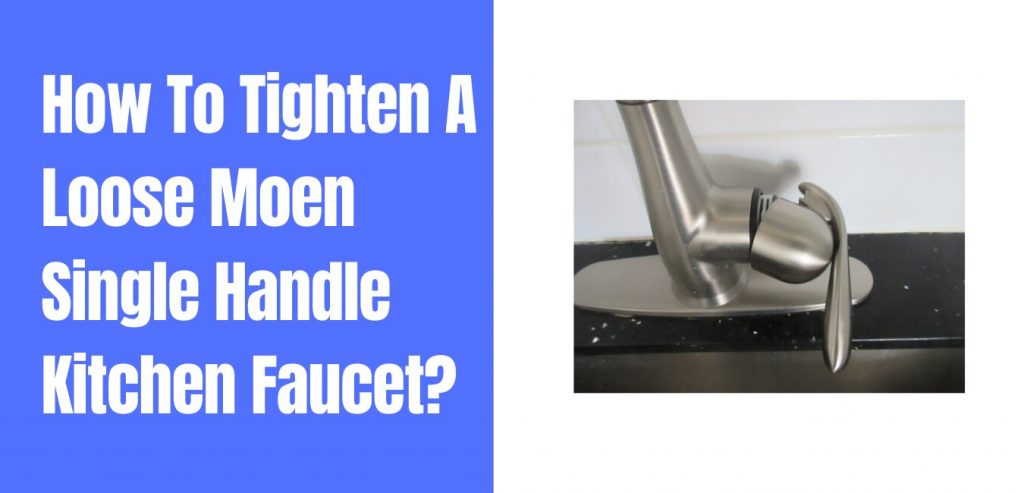
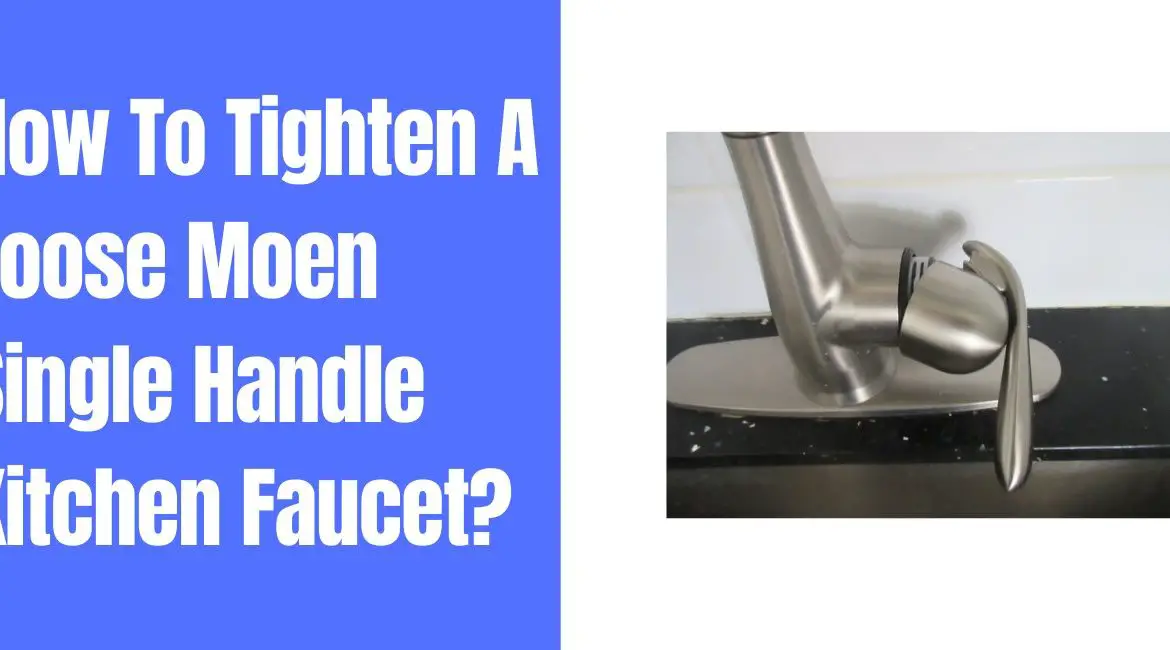
How To Tighten A Loose Moen Single Handle Kitchen Faucet?
Before we proceed on how to tighten a loose single handle kitchen faucet, let’s find out the issues on why you are required to tighten your single handle kitchen faucet.
Moen Kitchen Faucet Leaking From Handle? The 8 common reasons why Most of these issues above require tightening of single handle kitchen faucet which is related to leaks. Leaks are the most common problem associated with faucets. If something is worn out or in bad condition, chances are it needs replacement. For example, you cannot find an O ring or a valve seat. Instead, get a new item from Moen and make sure you get the right product for your faucet model. Replacing these parts is also fairly simple and it is great for DIY enthusiasts.
 But then, everything might be alright. What if you only need to tighten the faucet a little? Moen faucets are known for their reliability and durability. They last for ages. Sure, some parts will inevitably wear out, but replacements are inexpensive.
Now, there are also situations when constant uses and problematic water pressure may loosen the faucet. Another cause of this issue is a bad installation. If you did it yourself without experience, chances are some parts are loose, so they need tightening.
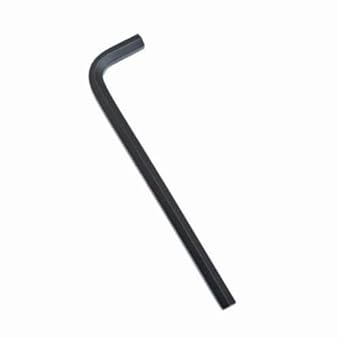
Things You Will Need To Tighten A Moen Single Handle Kitchen FaucetYou do not really need to buy anything separately. Most of the things you need for this job are usually available in most houses especially if you are the DIY type of person. What size Allen wrench to tighten Moen kitchen faucet handle?
Now that you have what you need, figuring out how to tighten a loose Moen single-handle kitchen faucet is a matter of time only.
Get rid of the plateThis is the first step in the process. You cannot figure out how to tighten a loose Moen single-handle kitchen faucet without this step. The plate covers pretty much the entire mechanism, so it has to go. There is usually a large screw holding the lever in the right position and it is located under the plate.
On many kitchen faucets, you might be able to pop the plate out with a thin blade. It could be an old knife, for example. Sure, some faucets may come with screws, so you will need to remove them first. Inspect the plate and figure out whether or not it is held in place by a screw. If you have installed the faucet yourself, you should know what kind of mechanism it is.
On other faucets, the screw is located under the handle. This is when the hex wrench will become handy. You will not be able to remove it otherwise, so keep it there as you inspect the plate.
Tighten the screwThis is the step that involves the actual tightening part. Once the plate is removed, you will notice a screw. It holds the lever in place – it is its primary purpose. Some Moen faucets come with small screws, while others come with large units. Make sure the screwdriver you have fits in perfectly.
If the screwdriver is too large or too small, you will struggle. At the same time, you risk damaging the top of the screw, so further operations will become a nightmare – whether the faucet needs tightening in the future or you need to replace it.
All in all, tighten the screw with gentle movements until it feels firm. Test the lever before throwing the plate on – only to figure out if it requires more work.
Wrap the valveSince you have access to the internals of your faucet now, you might as well do a bit of maintenance work too. Clean around and remove any limescale you might see. You may also have to use the plumber’s tape now. Use it around the valve and wrap it.
If you try tightening the screw and nothing seems to change, the stem might be gone. At this point, the plumber’s tape becomes your best friend. Take the handle out and simply add some plumber’s tape around the stem. You only need one layer – more layers will make the job worse, so keep it simple.
Put the handle back in and give it another try. Does it still feel loose? Add another layer of plumber’s tape then. Try again and keep going until you achieve a snug fit – do it one layer of tape at a time.
Tips and tricksThere are a few things to keep in mind when learning how to tighten a single-handle kitchen faucet. Each of them is extremely important and requires attention. For example, when tightening the screw, do it gently. Even if the screw is in great condition and it feels easy to work with, keep it simple and gentle.
Faucets have plastic parts. Even the most expensive faucets on the market come with plastic parts. They are super simple to strip, crack or break. In other words, over-tightening the screw will inevitably damage these parts. Replacements are not always costly, but it takes time to figure out where to get them from – not to mention the shipping time.
Another helpful recommendation is to never ignore a loose faucet handle. You can still use it, indeed. However, it is less likely to work for too long. With time, it will fail you. On the same note, a loose faucet will work on the valve stem. It will keep wearing it out. At some point or another, you will need to replace the entire faucet. Therefore, assess and handle this problem as soon as you notice it.
Other common situationsYou might feel a loose faucet as it is wobbled when you touch it. At this point, the problem is not internal, but external. It is simply not fitted properly to the sink. Learning how to tighten a loose Moen single-handle kitchen faucet is just as simple.
You will need the following things: Remove everything you have under the sink and you will need some room for this job. Then, make sure the water valves are off. You do not want any unpleasant accidents with water splashing all over the place. Slide on your back under the sink and locate the nut holding the faucet in place. This is when the wrench kicks in.
Twist the nut in a clockwise direction. Based on how the faucet was installed, you may need to get into an awkward position, but the job is not that difficult anyway. Go back up and check the faucet on top of the sink – is it still loose? Turn the water back on and you are ready to go.
On another note, you might need to tighten the handle only. Find out what type of faucet you have. Most faucets come with some screws – usually located under the decorative cap on the handle. Use a knife to remove the cap and look inside – you will most likely need a screwdriver for this job. A Short video: Moen Single Handle Kitchen Faucet Troubleshooting Repair GuideWhen it comes to troubleshooting a moen single handle kitchen faucet, most common problem will be the reversed of hot & cold Positions. Here is how you fix this issue:
Moen Single Handle Kitchen Faucet Repair DiagramIt is pretty common to see many people enquiring about the Moen kitchen faucet repair diagram. After much research, we found this diagram on Moen official website itself. Click here and you will be directed to the diagram page. |
Conclusion
Bottom line, there are more reasons wherefore the handle might feel loose. It could be the whole faucet or just one part. Learning how to tighten a loose Moen single-handle kitchen faucet is not that difficult though and makes a great DIY project should you ever experience it. What do you need for this job? A bit of DIY sense and a few basic tools will sort you out.
If you need to learn how to remove moen kitchen faucet, we did a step by step guide as well for that. Do check them out.


 First of all, you will need a 7/64 hex wrench. It is probably the most common wrench you will need for faucet repairs. Then, you will also need a screwdriver also another common tool that everyone may have.
 Other than that, a thin-bladed knife will prove handy at times, as well as some tape. Opt for high-quality tape, such as plumber’s tape. It is likely to last for ages and ensure a proper seal.